Setting Device Owner Mode Using QR Code
Android 6.0+
As the final step to enable device management, perform the check-in operation on the device.
Once the check-in has completed, the device will be registered with BizMobile Go! as an Device Owner Mode device.
Check-in process will be completed after initialized the device, following the respective setup procedures for device owner configuration, and authenticating using a QR code when the BizMobile Go! MDM agent app appears.
Once the check-in and registration with BizMobile Go! is finished, profiles, applications, and other settings pre-registered in the same template as the device will be distributed to the device, and the kitting process will be automatically completed.
Note: Some models may not support device owner mode setup using a QR code. In such cases, please use an alternative method, such as "Device Owner Mode Setup Using BizMobile ID."
*The images shown are setup screens from Android OS 13 on a Pixel 4a.
Prepare a device running Android 7.0 or later that has not been activated. If the device is already in use, initialize it first.
Setup Procedure;
|
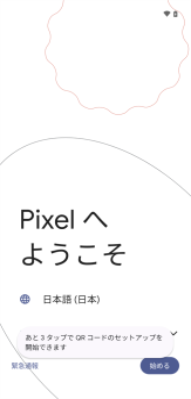
1. On the language selection screen, tap a non-button/non-link area six times in succession. |
|
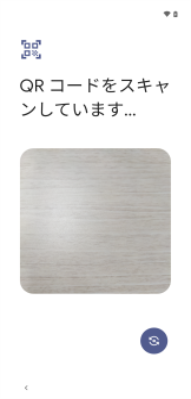
| 2. The QR code scanner will launch. |
|
|
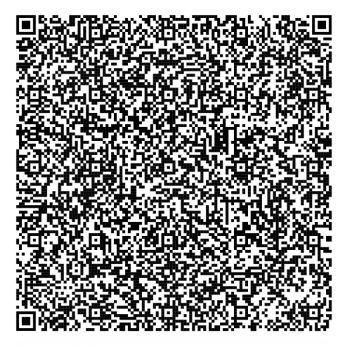
3. Scan the QR code for device owner configuration. |

|
| 4. It is recommended to use the QR code that displays all system and pre-installed apps. |
QR Code Options QR code displaying all system apps (Recommended) This is the default QR code that should be used. Unnecessary apps can be hidden via the profile settings under "Application Configuration → Hide Apps."
QR code restricting system app display to "Phone, Google Play, and Settings" This option is not recommended due to the following potential issues:
|
|
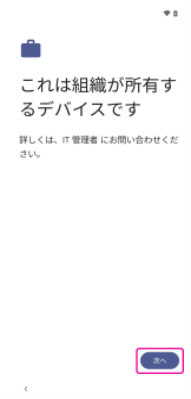
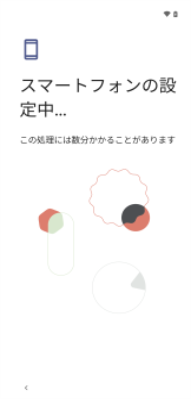
5.Once connected to the network, smartphone setup will begin. Wait for the setup to complete. |
|
|
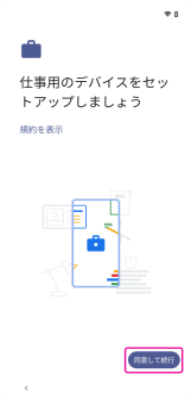
6. Tap "Next." |
|
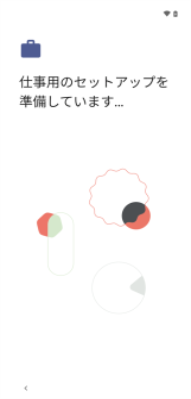
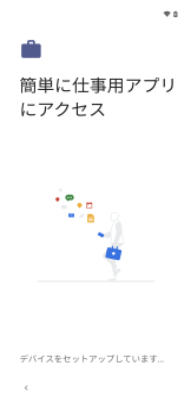
| 7. Work profile device setup will start. |
|
| 8.Tap "Next." |
|
| 9.The Android MDM agent app will be downloaded. |
|
| 10.Tap "Next." |

|
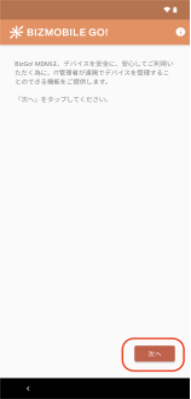
| 11.The check-in screen will appear. |
|
|
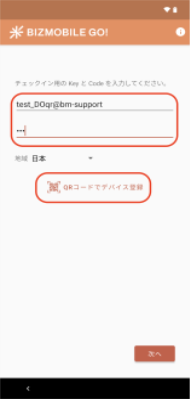
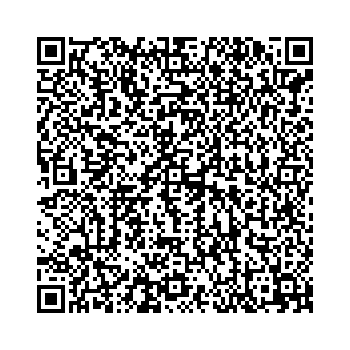
12. Scan the check-in QR code and tap "Next." *If the QR code cannot be scanned, enter the Key/Code manually. |
|
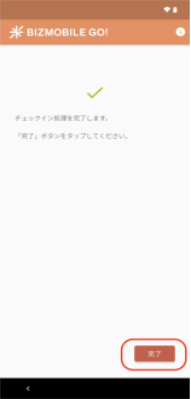
| 13. Once the process is completed, tap "Complete". |
|
|
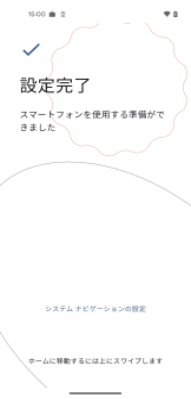
14. Let' get started. |
|
Note: Depending on the network conditions of the kitting environment, it may take some time for all the profiles and applications registered in the template to be installed on the device.
Note: If signing into the device with a Google Workspace account, wait at least 5 minutes after completing the check-in.
If EMM configuration is performed using a Google Workspace account, signing into the device must be done after the first EMM synchronization following check-in.