Device Owner Mode
Android 5.x and later supports Device Owner Mode as well as Work Profile. Device Owner Mode enables stricter device restrictions than Work Profile.
To use device owner mode, below preparation are required.
- Need to prepare one device as “Provisioning Device”. Provisioning device itself is used by Device Management Operator to set up target device as Device Owner Mode.
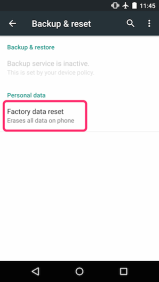
- Target device is forced factory reset to set up Device Owner Mode.
- Target device is required to be charged more than 90% battery life and connected to electric power source.
- Target device is set as Device Owner Mode before check in to BizMobile Go!
Please prepare one device with Android 5 and later device. To set up Device Owner Mode, please follow below step.
Please refer to here for checking the function list of device owner mode.
*Important: Factory reset and Wi-Fi connection is required to set up Device Owner Mode.
**This only supports only from Android 7.0
|
|
|
|
|
|
|
|
|
|
|
|
|
|
|
/7.Select Wi-Fi_160x281.png)
|
|
/8.Follow_instruction_165x293.png)
|
|
/9.Set up work device_159x282.png)
|
|
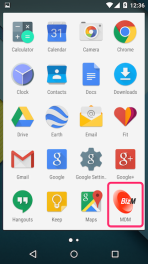
/10_App_installed_162x286.png)
|
/1.Factory Reset_163x289.png)
/2.Welcome_161x281.png)
/3.QR code setup_161x283.png)
/4.Get Connected_160x284.png)

/5.Set_up_work_device_159x281.png)
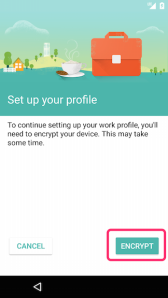
/6.Encrypt phone_159x282.png)
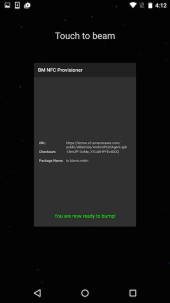
Set up device with NFC
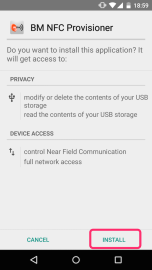
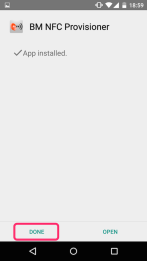
*Important: Installing NFC Provisioner application is required.
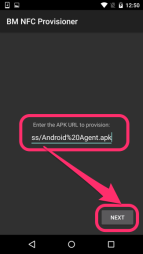
How to set up Provisioning Devic
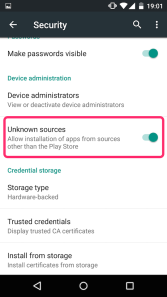
(Note) To install this application, please enable “Unknown sources” at Settings -> Security menu. |
|
|
|
|
|
|
|
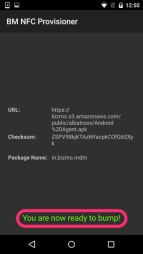
(Note) Please ask BizMobile or your business partner for APK URL.
|
|
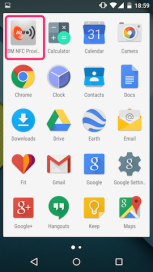
Please go to Step 3 of How to set up target device as Device Owner Mode, and bump with target device. |
|
(Important) To set up Device Owner Mode, Factory reset is required, and all data on the device is deleted.
|
|
(Note) Please connect target device to power adopter with over 90% battery life. |
|
| |
|
|
|
|
|
|
(Note) For Device Owner mode enabled device, there is no need to install agent application during check in process. Please skip from step 2 to step 5 at Device Check-in for Android Device. |
|