Custom Browser
Android 7.0+ Device Owner
This feature allows you to distribute profiles that enable the use of a dedicated device by displaying only specific pages or applying screen lock to a dedicated browser application. Depending on your usage scenario, you can modify the settings of the profiles to suit your needs.
[Example Use Case: Dedicated Terminal at a Store]
-
Prevent users from directly entering URLs in the address bar and accessing other pages.
-
Display only a specific URL.
-
Fix the screen orientation in landscape mode.
-
Allow alternative usage of the device if needed.
-
Enable video calls with a call center, simplifying user interaction.
Approach:
-
Utilize the dedicated browser app "BizGo! Browser" to hide the URL bar.
-
Specify the desired URL in the Profile.
-
Set the screen orientation to landscape mode in the Profile.
-
Allow regular device usage by entering a predefined passcode set by the administrator.
-
Grant camera access in advance through the Profile, bypassing the need for user approval for camera usage.
How to configure
-
Assign BizGo!Browser app to the Template. For information on how to create an in-house app, please refer to this page.
-
Go to [CONFIG] > [Profile] and click Create button. Select the OS as "Android" and enter the profile name in the "Name" field. Choose the device type as "Device Owner Mode."
The necessary configuration items in the profile are as follows: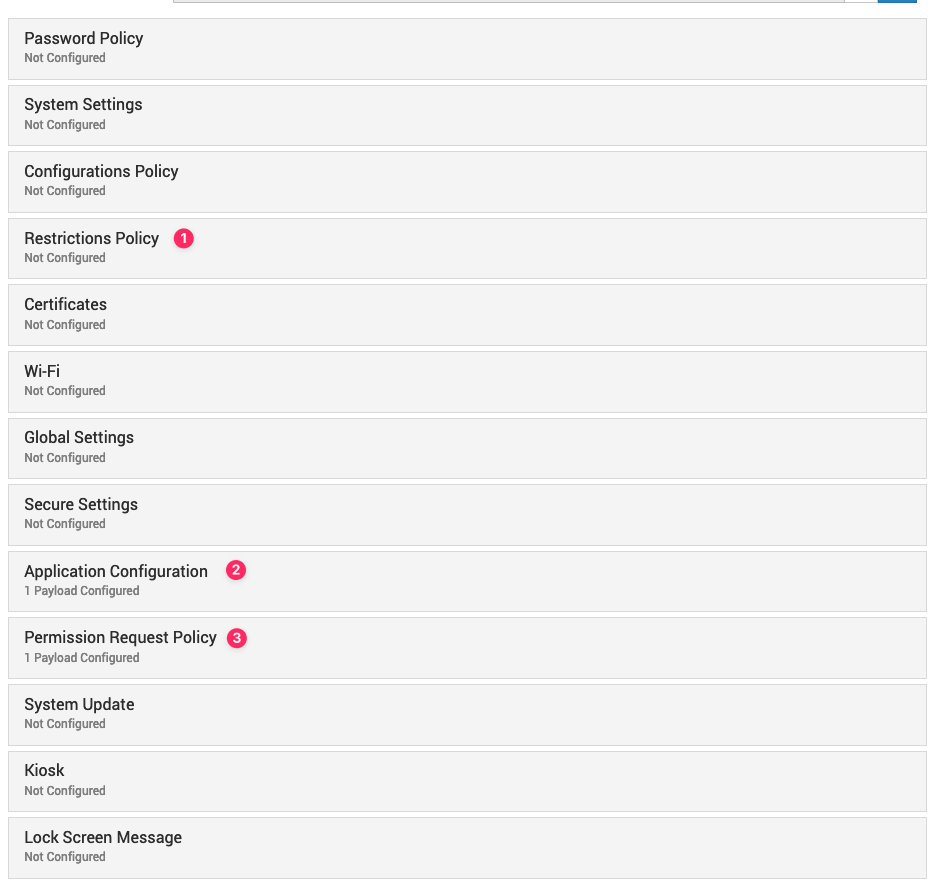
-
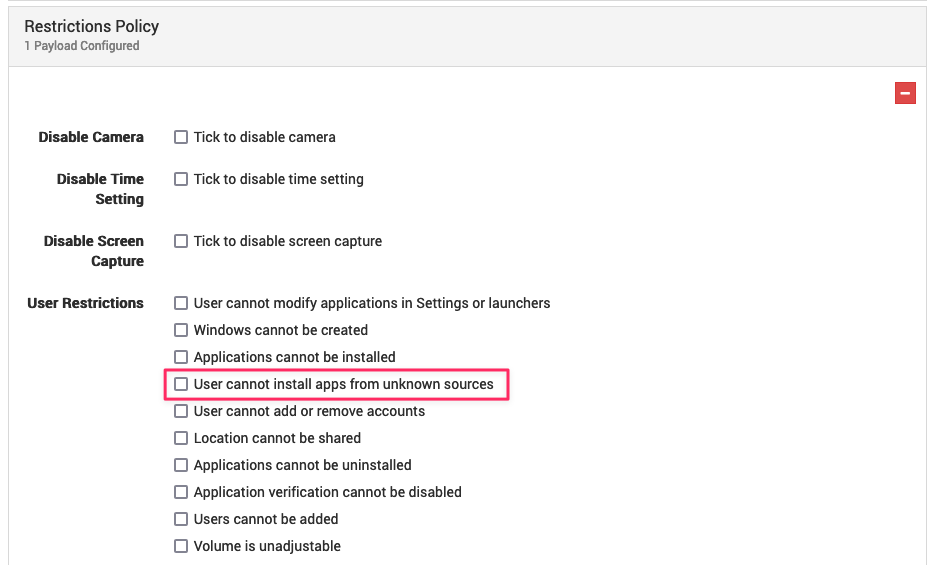
Click "Restrictions Policy" and turn off "User cannot install apps from unknown sources" to allow to install InHouse apps.
-
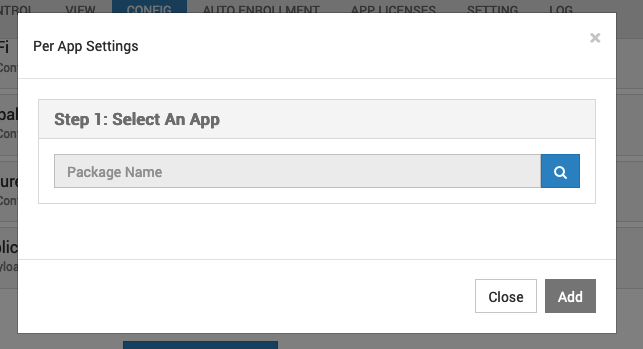
Click "Application Configuration" and click "Add Per App Settings".
-
Click the search button in the Per App Settings modal.
Select the BizGo! Browse app that you created in the above step.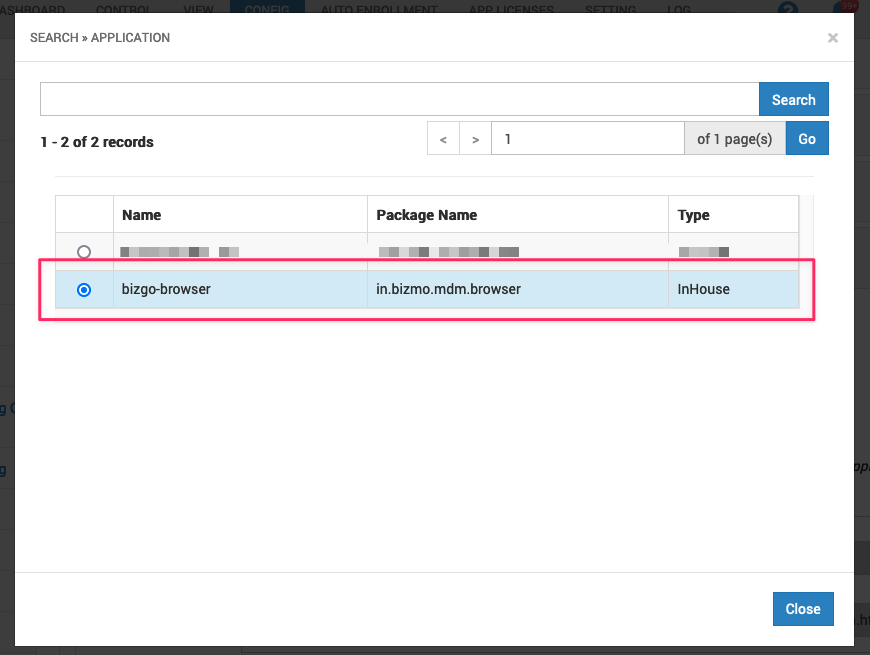
-
Input restrictions as JSON format. Input the following restrictions and click on "Add".
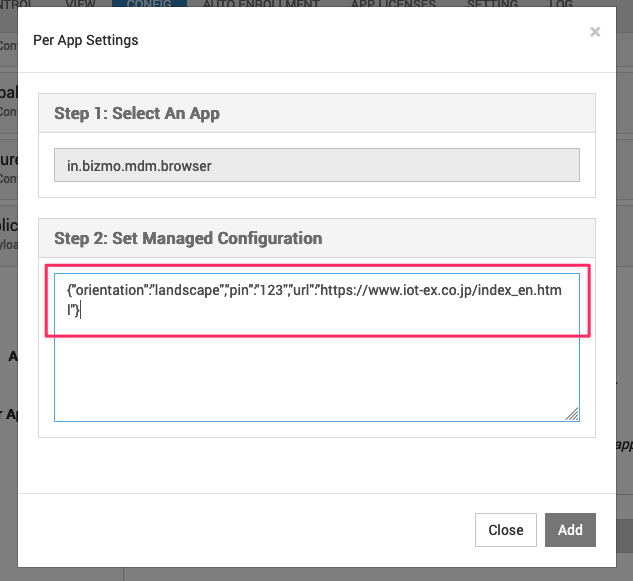
{"orientation":"landscape","pin":"123","url":"https://www.iot-ex.co.jp/index_en.html"}Note:-
"orientation": "landscape" ... fix the rotation to landscape
-
"pin":"123" ... the passcode to unlock the screen pinning
-
"url":"https://www.iot-ex.co.jp/index_en.html" ... the URL to display on the browser
-
-
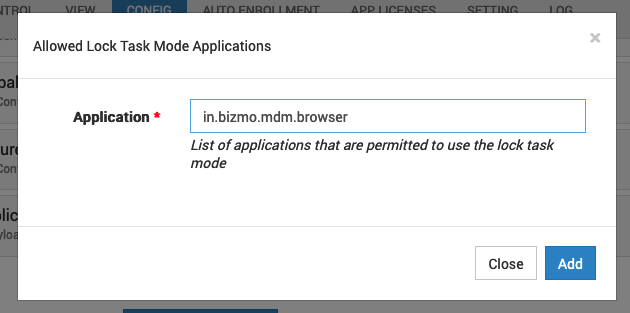
Click "Add Allowed Lock Task Mode Applications" and input "in.bizmo.mdm.browser " and click "Add"
-
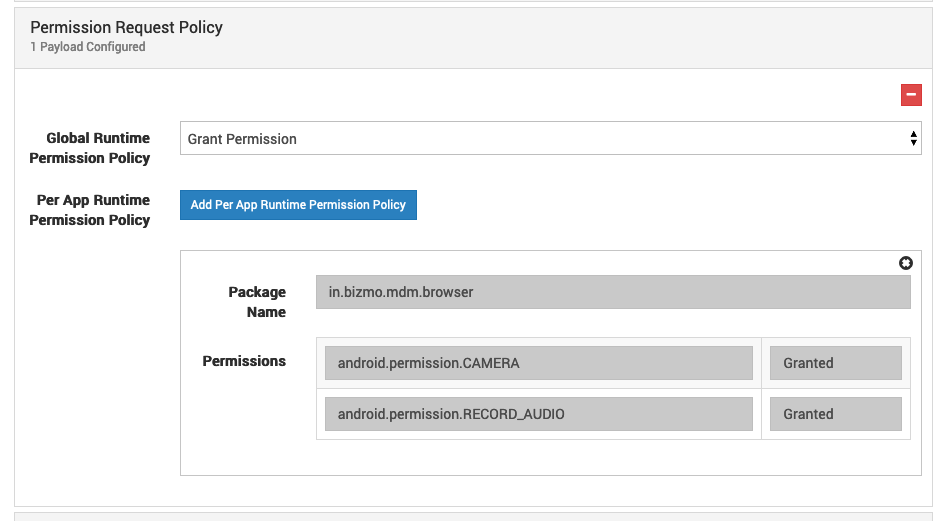
Click "Permission Request Policy" and click "Add Application Runtime Permissions"
-
Click the search button..
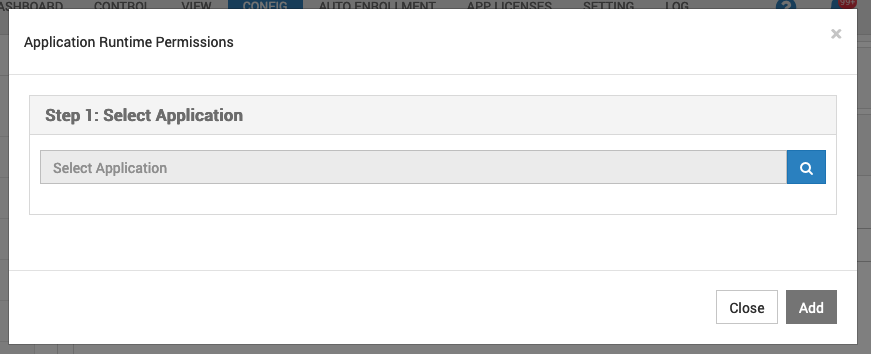
Select the BizGo! Browse app that you created in the above step.
-
Click "Add Runtime Permission".
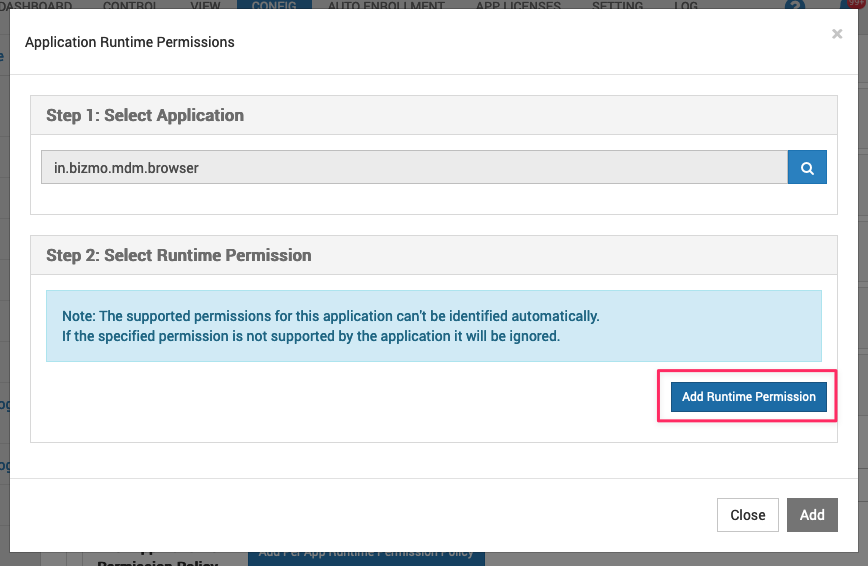
To allow video calls with the call center, add the two permissions CAMERA and RECORD_AUDIO by clicking on "Add"
-
After completing the Profile creation, assign the Profile to the Template where "BizGo! Browser" is allocated, and then perform the Sync command to distribute the Profile to the devices.